Setting up WiFi Networks
Troubleshooting guide for WiFi network cards
There are 4 procedures covered below:
- (1) The first is to select a wireless network.
- (2) The second is to insert a WEP encryption key for an already selected network.
- (3) In case the WiFi icon is not showing in the notification area, you can go to
control panel and ôNetwork connectionsö to get to the same set of dialogs.
- (4) In case the TCP/IP settings have been set incorrectly, this is what they should be
You might not need to do any of this if the software that comes with the WiFi cards does this for you.
If this is the case, at some stage you will be prompted to enter the WEP key by that software, and it will set it for you.
And then everything will just work.
Just in case it doesnĺt all just work, these 2 procedures are the things to try.
(All this assumes you have already added the Physical (MAC) address of the WiFi
network cards to the WiFi router list as we have previously discussed.)
(1) Selecting a wireless network:
-
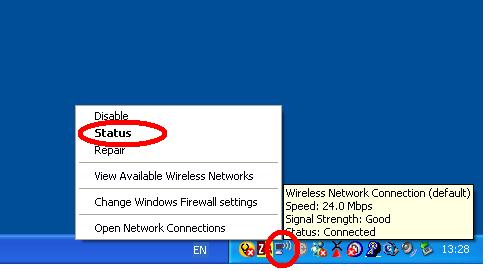
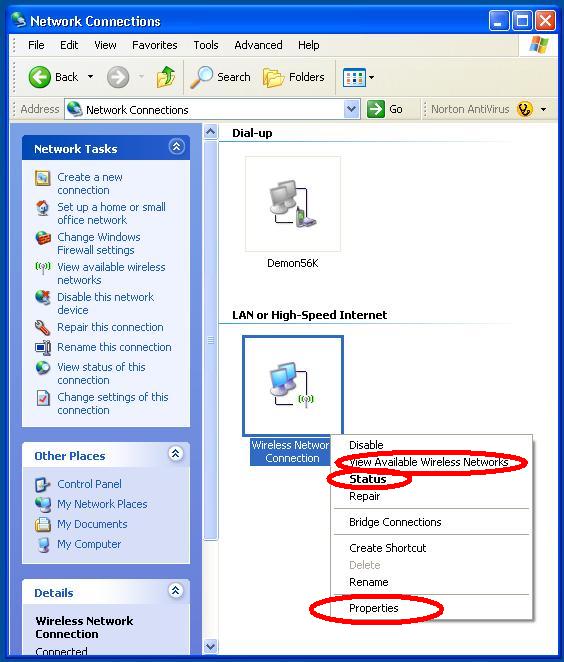
1. Right click on the network icon in the notification area.
If there isnĺt one, you need to go to the control panel. Open up ônetwork connectionsö.
Right-click on icon for the WiFi card and choose ôView Available Wireless Networksö.
This will end you up in the same place.
-
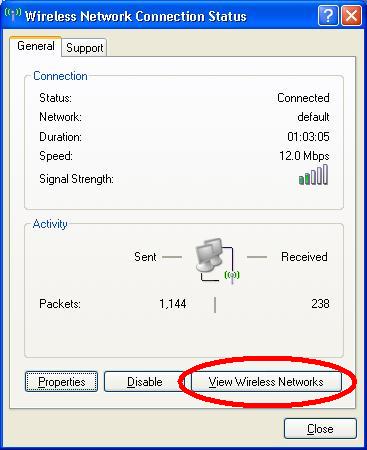
2. Click ôView Wireless Networksö ľ
in 1 above you could have gone directly there using the fourth item down on the right-click menu.
But useful to know that the status dialog is there.
-
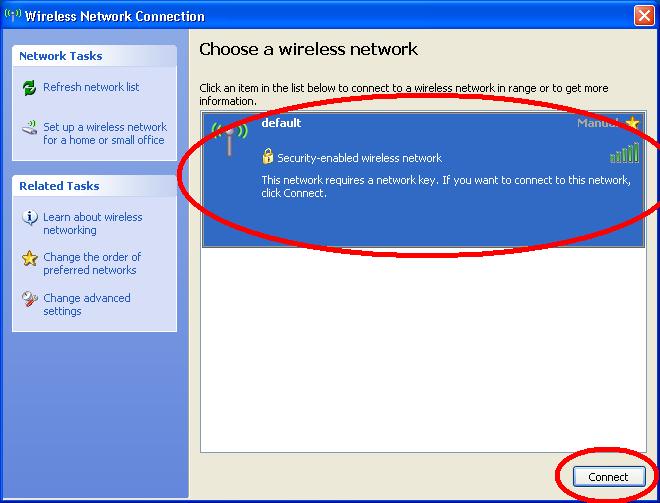
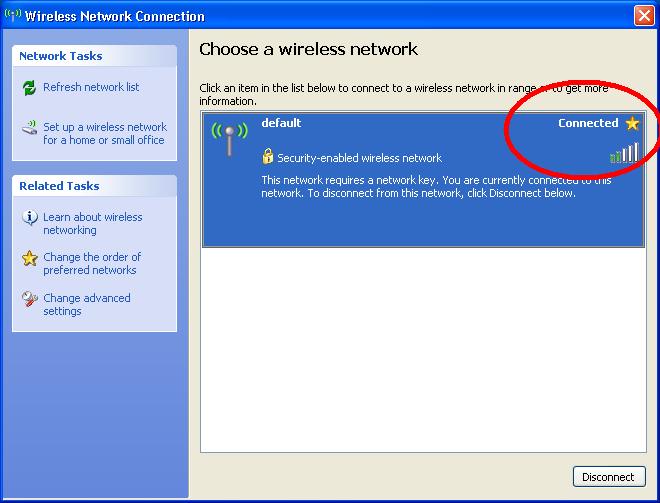
3. Pick the appropriate network ľ it should be the one with the strongest signal ľ
routers coming from adjoining buildings may also be showing.
I recommend you do not connect to anyone elseĺs network.
A man in the UK was recently sent to prison for doing this quite recently
(although admittedly he did do it repeatedly over a period of many months).
-
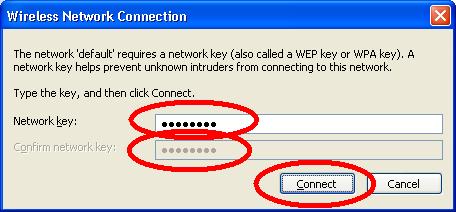
4. Enter the WEP encryption key. This is usually as 13 character key.
-
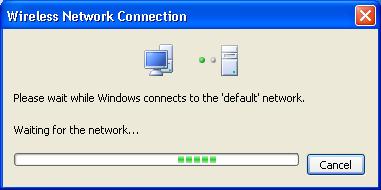
5. Wait for it to connect
(2) Insert a WEP encryption key for an already selected network.
-
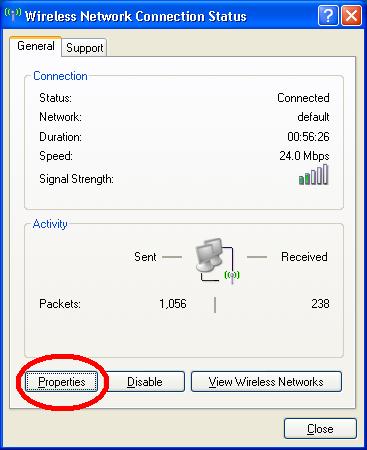
1. Starting in the same place as the first procedure (above)
-
2. But this time we go to properties
-
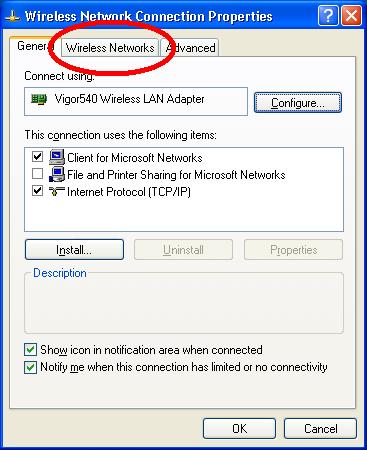
3. Then choose the Wireless tab (second tab)
(incidentally, while were looking at the general tab, take note of the ôInternet Protocol (TCP/IP)ö item on the list.
We may need to set some things in here if they have been set incorrectly by someone. (see (4) below).
-
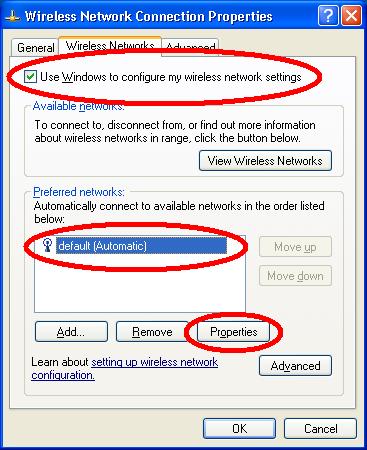
4. I like to use the standard windows dialogs to configure the connection ľ this way it is a consistent interface.
Select the WiFi network to connect to and click ôPropertiesö button.
-
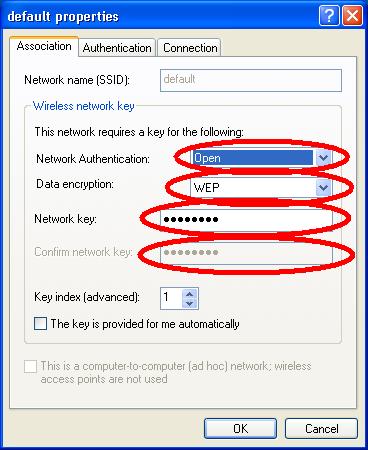
5. Set the network key and data encryption protocol to use.
-
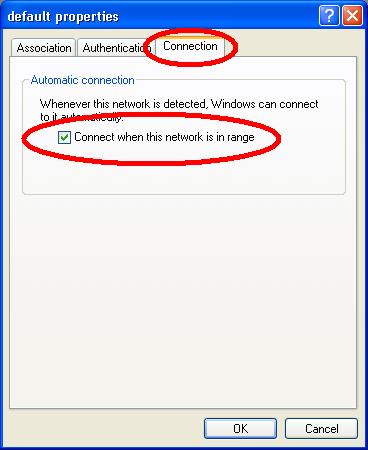
6. On the third tab, set to automatically connect when in range.
(3) In case the WiFi icon is not showing in the notification area,
you can go to control panel and ôNetwork connectionsö to get to the same set of dialogs:
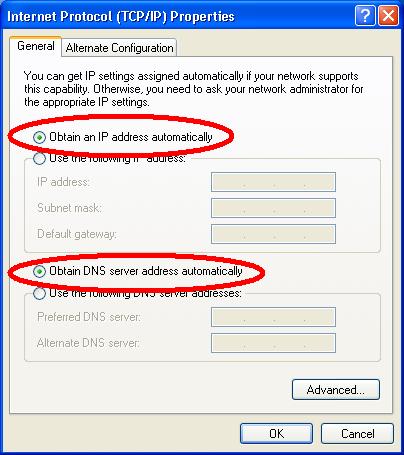
(4) In case the TCP/IP settings have been set incorrectly, this is what they should be:
-
1. We went past this box on our travelĺs above (see (2)3. above).
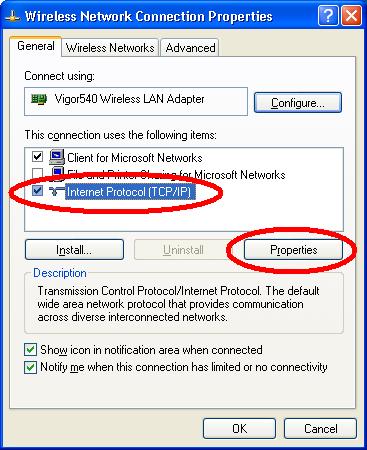
-
2. Set the settings to obtain IP addresses automatically